5 Simple Ways to Improve Your Online Class Videos (+FREE Checklist)
Posted on Jul 02, 2020
Have you ever thought about teaching crafting to kids online? Or maybe you already teach online but you want your videos to look more professional...
In this video we talk about 5 simple ways to improve your online crafting class videos (whether they are live or pre-recorded) so that:
- they look more PROFESSIONAL and
- you can feel CONFIDENT about them!
You can also grab the Free Checklist that will show you step-by-step how to host an online crafting class using Facebook.
Let’s talk about 5 super simple techniques to make your videos better when you’re presenting a class online.
These tips can help you with any videos you do online, whether it’s your online classes or even for your videos for Facebook, Instagram or Youtube.
Tip #1. Face the light
If there's one single piece of advice I want you to remember, it is to always FACE THE LIGHT when you are recording your videos!
And no you don’t need fancy lighting, all you need is good ol’ free natural lighting.
It’s by far the most flattering. All you need to do is record your videos near a window, with the camera between you and the window and you looking towards the window.
So that means: Sun → Camera → You

Tip #2. Use a tripod
If you are crafting online you will need both your hands! Using a tripod will keep you hands free, keep the camera still and avoid any shaky movements.
Fun fact: Research has shown that the more you show your hands, and the wider the range of hand gestures you use, the greater the respect and trust the audience gives you.
Now you don’t need to spend an arm and a leg on a tripod, you’re a creative, so be creative!
Do it yourself, or use a cup and cut a hole in it so that it holds your phone in the correct position.

Tip #3: Always Do an Audio Check
Audio can often be one of the biggest challenges when it comes to creating videos at home, as you never know when a car alarm, neighbor’s music, or passing vehicle will disrupt your video’s audio.
That’s all okay and the important thing is that your students can hear you well and clearly. In most cases you don’t need a mic, we don’t use a mic for our classes and many of our members don’t either.
So don’t stress about it, just do a practice round or test it to make sure your audio is clear. During the class you can also do a check and ask your students if they can hear you.
Tip #4. Record in landscape mode
Landscape mode also means HORIZONTAL! The main reason for making horizontal videos is the horizontal alignment of our eyes. Therefore, movies and TV are horizontal.
Working in horizontal mode makes a lot more sense when hosting a crafting class as you have more space on the sides to move and show what you are doing.
When you’re recording a horizontal video, turn your phone so that you can see yourself on your screen, using the front-facing camera. This is important as you will then know what your audience sees and can show and place items in view.
It is also important to see your screen so that you can see comments popping up so that you can engage with the viewers. Call out the names of kids to create engagement. Don’t forget – personalization is the key to getting and keeping your customer’s attention.

Tip #5: The 2-step Composition Check
Some struggle with finding a way to aim your camera in such a way to show their face and hands/ showing the steps of the craft.
Make sure we tick these two boxes:
- Sit as close to the camera as possible but have some space above your head
- Make sure they can see your hands/ the craft that you are demonstrating. You can achieve this by elevating your camera a little bit. So just prop your tripod onto a shoe box or something.
Just applying this one rule will instantly make your videos look more professional!

Tip #6. (Bonus tip!) Do a practice round with friends and family
Get your friends or family to join your first online video classes so that you can get used to the process, test the sound and build your confidence as an online teacher.
It’s important to know this:
Things may go wrong, and that's OKAY!
If the video freezes or an unexpected tech issue happens, just go with the flow and let your students know you are experiencing a difficulty and that they need to hold on for a bit or that you will resume the class later. Don't be too hard on yourself if things go wrong.
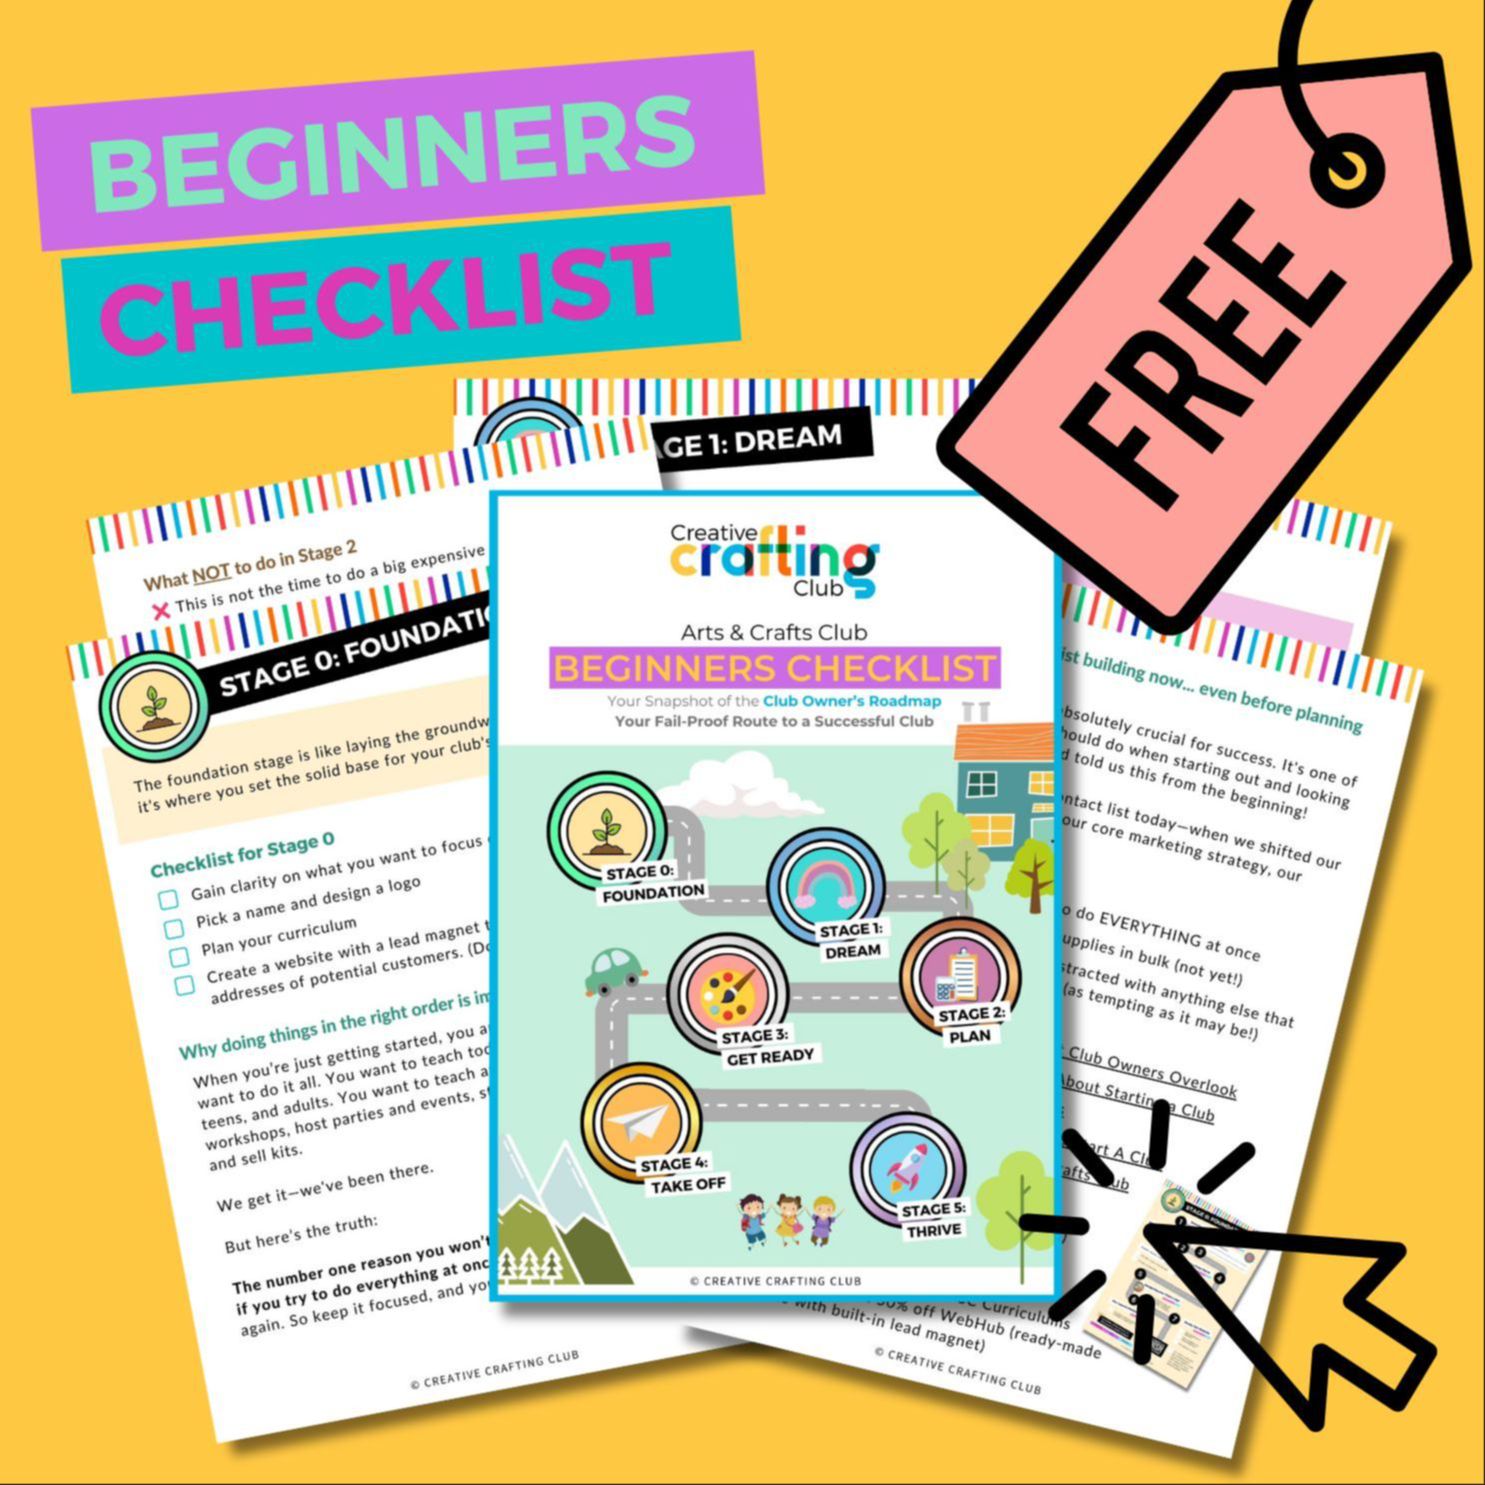
Don’t forget to grab the checklist that will show you step-by-step how to host an online crafting class using Facebook:
Are you ready to start your own arts & crafts club?
Our CCC Academy will provide you with all the training, resources and support you need to go from dreaming to thriving with your club.
Click here to join the waitlist and receive a free info pack.


